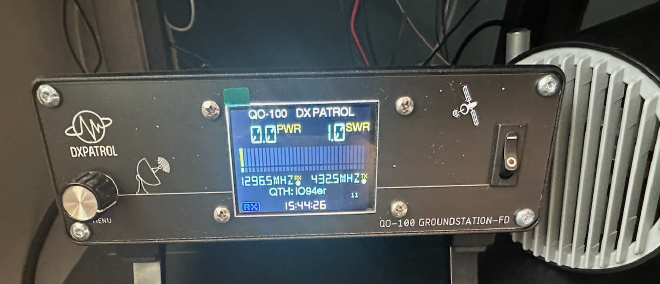
I purchased my DX Patrol Full Duplex Groundstation (1.0) back in October 2022 when I was first getting set up on QO-100. I didn’t have much of an idea of how to do that so I went for a “all in one” setup. I used this with am IC-9700 for a while until I had the itch to build an SDR setup which I’ve used to date.
One of the things I’d noticed with my 1.0 Groundstation is that it tended to get a bit warm which triggered a warning on its screen (I’m no stranger to a long, rambling over). I’d dug out an old USB powered fan to ‘point’ at it which seemed to help with that.
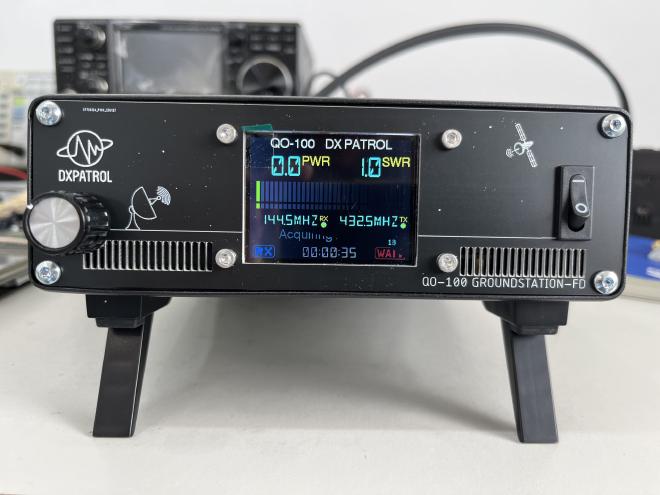
I’m a big fan of my FlexRadio and really wanted to use that to drive a setup for QO-100, so out came the Groundstation again (I’ve detailed how I set up the FlexRadio for QO-100 in this post). On checking for firmware updates on the page I notice that the actual Groundstation had had a hardware bump to 2.0.
Groundstation 2.0 #
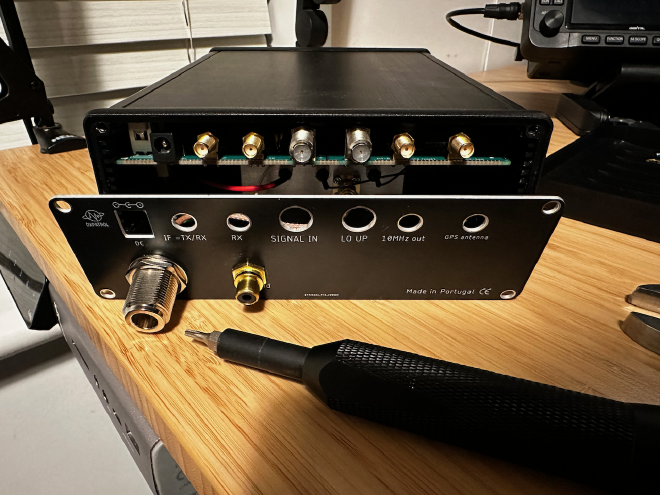
The Groundstation 2.0 has a few additions, grills on the front and a fan at the rear as well as adjustments for RX gain and Vox Delay.
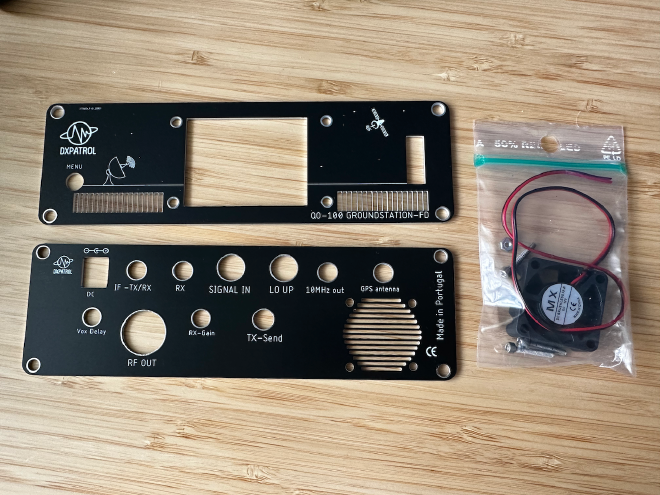
I dropped DX Patrol an email to see if it would be possible to retrofit my Groundstation. António replied and said he’d be able to send out the replacement plates for the front and back, I promptly took them up on that offer. After a few weeks they arrived.
Taking the Groundstation apart was scary - mainly because I wanted to make sure it went back together again!
Groundstation 1.5 #
Front #
The front was probably the easiest part (and it seems I didn’t take photos) but there isn’t anything really of note here.
- The four outer screws come out which releases the panel.
- Menu POT has a small grub screw on it with another nut underneath.
- LCD removal is logical, albeit with a few extra screws and nuts.
- Most difficult was the power switch as it was glued firmly in place. Removal of the glue was performed with pliers, screwdrivers a little bit of blood and swearing!
Putting the new plate on fitted without any issues and I tested it turned on as expected.
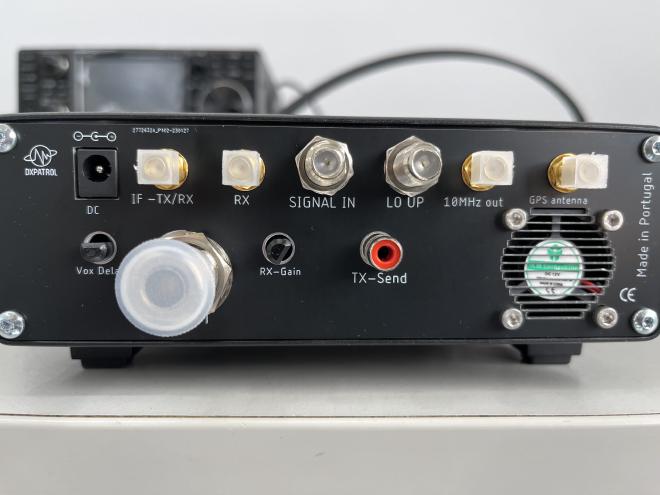
Rear #
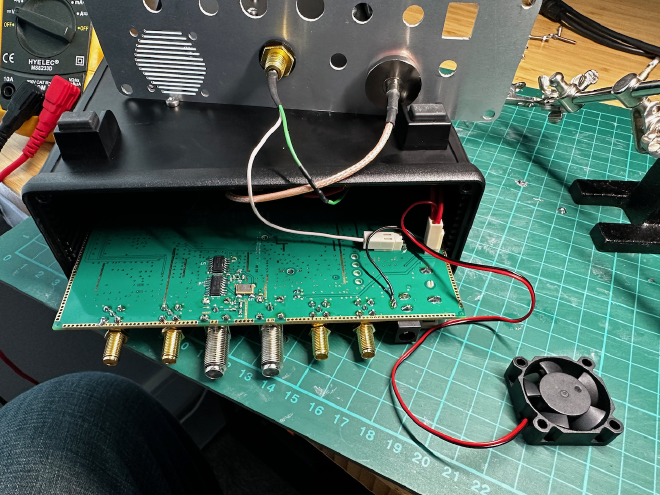
This was a bit more fiddly, because there is a wire to cut and some soldering to do.
- The four outer screws come out, all of the nuts and washers are removed from the top row, which releases the panel without pulling the PCB out.
- The female N-Type is removed using a pair of spanners.
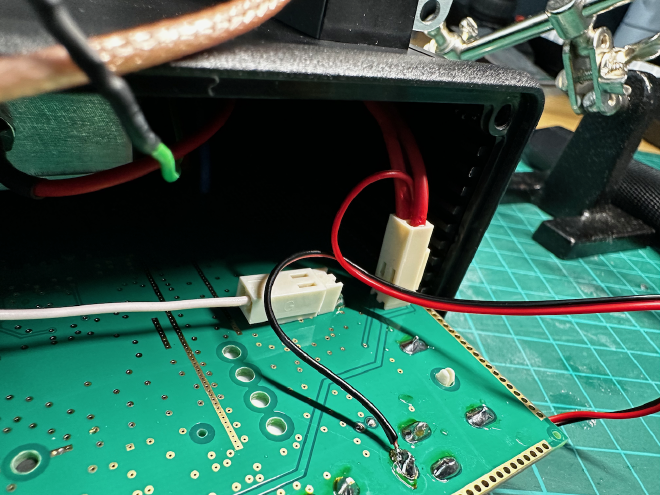
- The TX Send female phono is removed using a spanner from the rear, the green wire will need to be cut and the white wire will need to be removed from the plug in order to remove it. See next picture which shows them put back together after being fitted to the new panel.
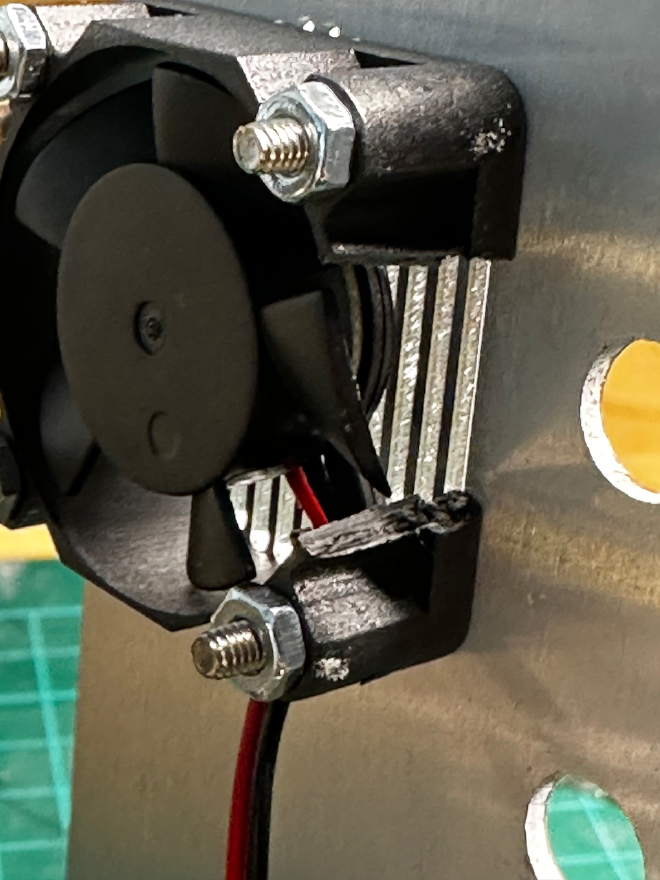
- The fan will need to be fitted to the board. Notice the positive wire goes to a switched pin - so that it doesn’t run even when the Groundstation is powered off.
- Unexpected hardware modification ahead!
- When I came to refit the rear panel I found that the soldering from the GPS antenna PCB mounted SMA was stopping the panel from fitting.

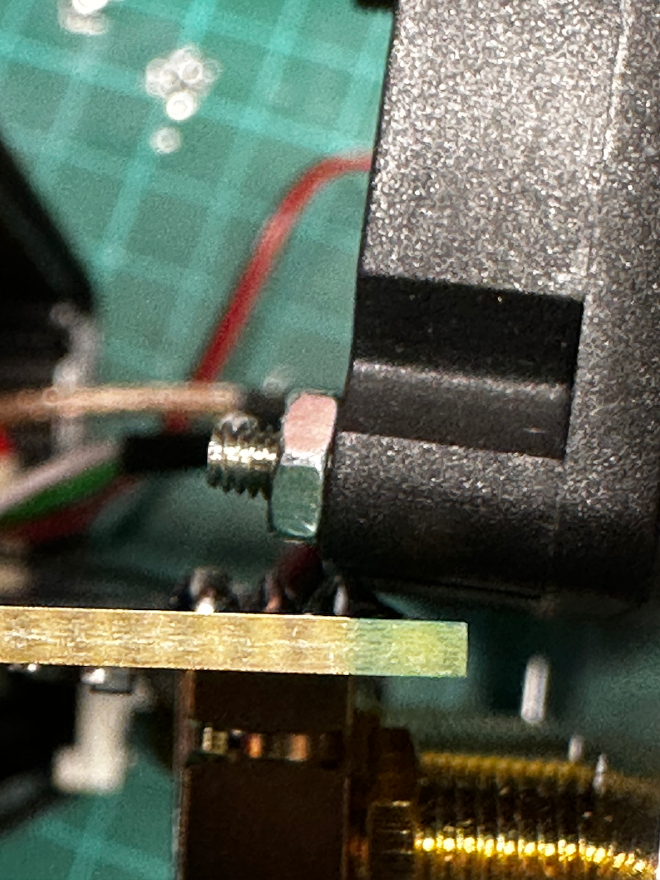
- I was able to get this to fit (safely) by removing a bit of the fan casing using a dremel (OK, fine - I was too lazy to go and get the dremel from the garage so I used my pliers!).
- Refit all of the nuts and screws.
- One minor issue is that the rear panel seems to be ever so slightly larger then the existing panel. I expect some minor sanding could have helped with this but I’m happy enough with it as is.
